Showing posts with label Things I Make. Show all posts

Friday, 6 September 2013

Shoes!

Recently Louise did a fab class over at Beautiful Things HQ #BTHQ

Using vintage comics and Mod Podge these shoes have turned out beautifully! 

So if you have a spare £20 and are at home twiddling  you thumbs head on over for the next class and make a pair of your own! 


Monday, 18 June 2012

Painting Tea Cups

I have managed to find some time to do some crafting!

My mum set me and my sister a task. She gave us four plain canvases and told us to paint what ever we wanted.

Now I don't think I am done yet, but here is where I am at the moment.

Thursday, 8 March 2012

Transforming Old Furniture

A couple of weeks ago a friend of mine gave me a table that she didn't have a use for any more.

This lovely table was so cute I had to have it.


However, instead of leaving it as it was I decided to paint it as the wood didn't match that of the house I live in.


So I sanded it down and primed it, but now I need your help!


Apple White or Dusted Fondant?

Monday, 20 February 2012

Love Your Home

I find it very hard to believe that my partner and I have lived in our little rented house for seven months now!
Especially considering that since we moved in I have spent very little time trying to make it feel like it is ours.

So here is my attempt to make it feel a little more homely...


I bought these coasters for about £2 each from a lovely little trinket shop and I knew what I wanted to do with them straight away.

So I went to Ikea and got these Ribba frames for £7.19. These clean white frames were great to stick them in, and when I say stick I mean it! I had to sellotape them in as I didn't want to use hot glue and ruin them.

So next time you're out and see a trinket that you want then make it wall art!

Friday, 6 January 2012

How To Make A Memo Board

A while ago I made some lovely bunnies from the lovely book Everything Alice

In this post I will be showing you how to make the notice board (available to buy on my website) from the same book. In the book the notice board is heart shaped so I decided to simplify things by keeping it square.   


For this you will need:
  • 2 sheets of white A2 mount board
  • 1m x 50cm of 3cm thick wadding
  • Hot glue gun and at least 5 sticks of glue
  • 60cm x 60cm of fabric of your choice
  • 5m of 5mm-wide ribbon
  • 5mm buttons (you can use buttons that are bigger if you want) 
  • 40cm garden wire (used yarn as i didn't have any wire hanging about) 

First cut all of you materials to the correct dimensions. (Remember these are only guidelines)


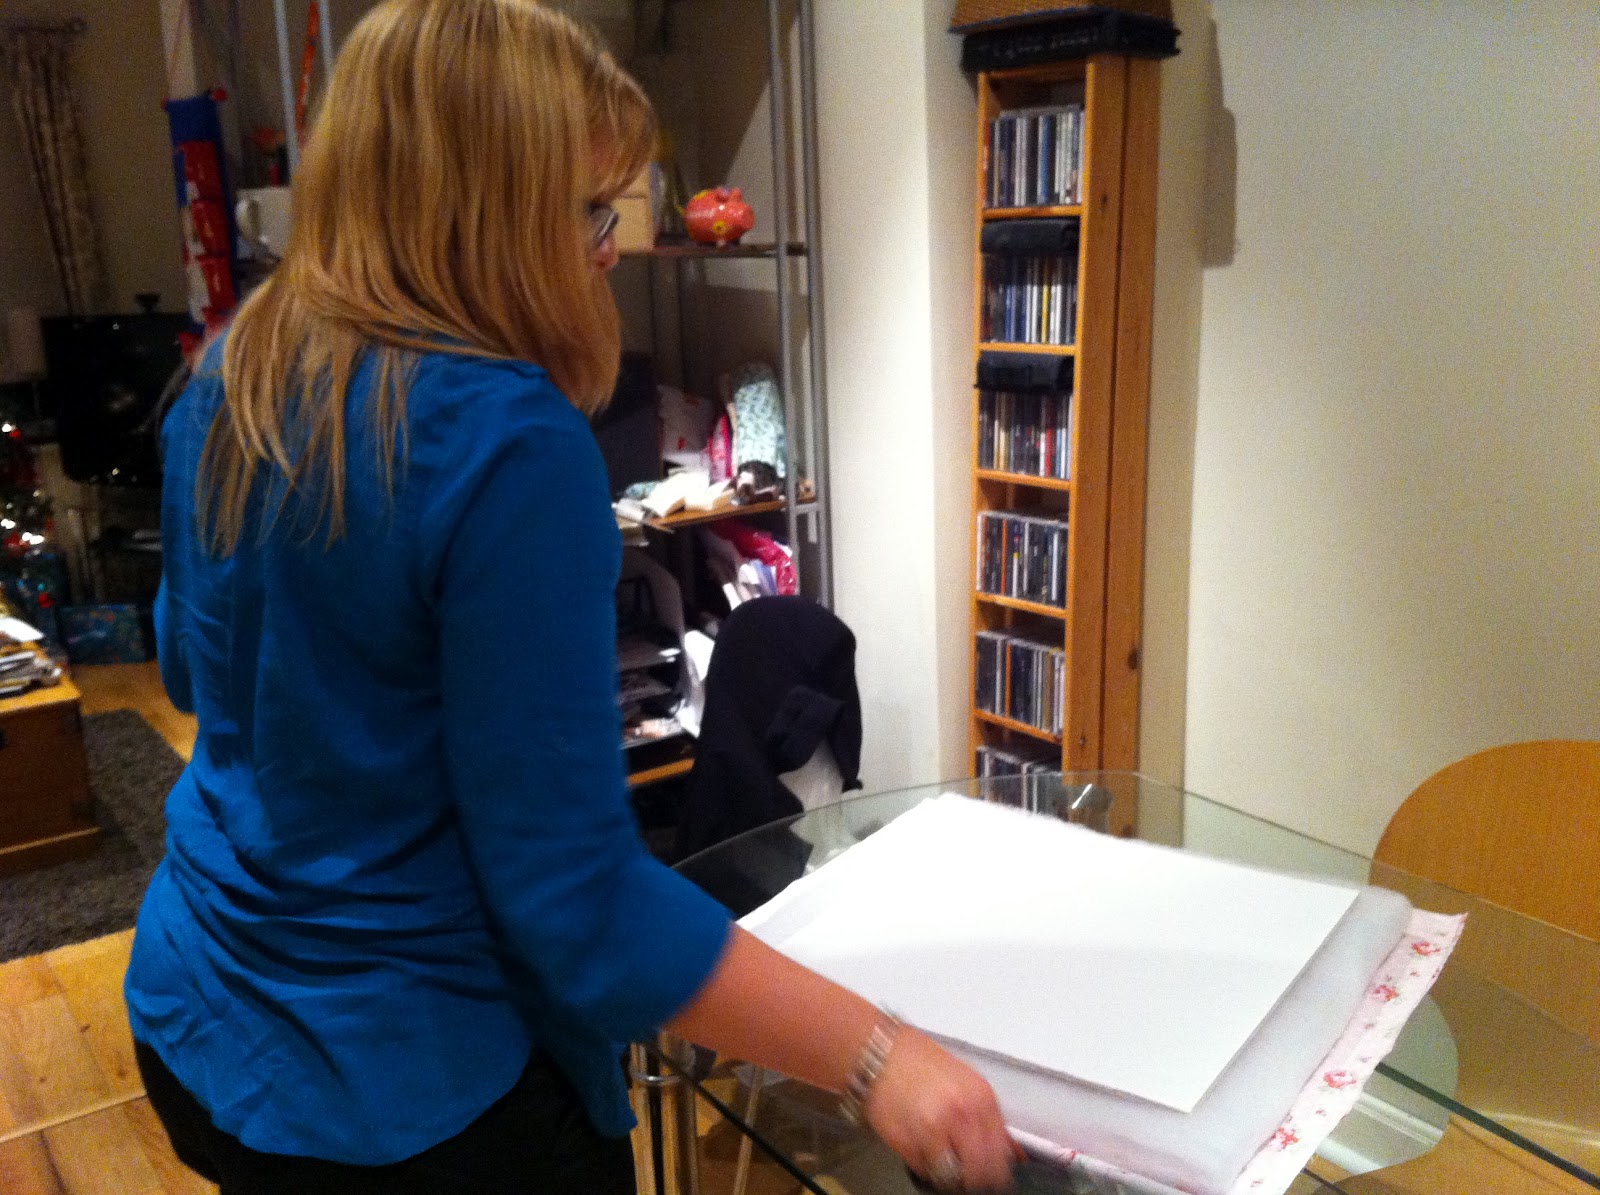
Lay your fabric face down with your doubled up wadding on top and you foam board on top of that. 


Now start gluing! Glue around the edge and hold until you feel the glue harden. 


Do this till you have made your way around the whole board. 


Make sure your corners are lovely and neat ;-)


When you have finished it should look something like this!


Now it is time to pin your ribbon into place ready for gluing. Make sure that each strip is evenly spaced with enough left over at either end to stick to the back. 


you should end up with a grid formation like this. this will allow you to place cards and pictures between the ribbons. 


Glue each strip at the back, holding in place until the glue is set. 


Now glue where the ribbons cross to the fabric and to each other. 


Just to make things look even prettier I stuck some buttons on top of where the ribbons crossed.


Instead of using garden wire, and to make thing look even more quaint, I decided to make the hanging loop from platted yarn. 


Not forgetting to add my label ;-)


Finally glue the second piece of foam board to the back (making things look neat). 


Remember if you feeling lazy you can always order your memo board from my website! Let me know the type of fabric that you would like.

Thursday, 15 December 2011

How To Make Christmas Crackers

Incase you missed it I was featured in the Brentwood gazette this week teaching the people of Brentwood how to make Christmas crackers!

Due to lack of notice the reporter was unable to get a photographer in time so my wonderful sister @bluegiraffe had to step in and use her fantastic photographic skills!


Thursday, 8 December 2011

Demonstrating at the Tweetup!

On Wednesday I demonstrated at the Brentwood Tweetup. This is a wonderful even held on the first Wednesday of every month for people who tweet in the Brentwood area.

I was asked if I could demonstrate a Christmas craft, so I decided to show everyone how to make a cute Christmas fairy for their trees, and you can watch the video.


Enjoy!

Monday, 5 December 2011

My First Craft Fair

Yes you read right! I did my first craft fair!

A few weeks ago I exhibited at a small Christmas craft fair in Halstead, Essex.

I had my little stall and all of my stock.

I can defiantly say that it was a learning curve but it was lots of fun!

Saturday, 19 November 2011

Making a Christmas Wreath

On Monday14th November I went along to a lovely village pub to learn how to make a beautiful Christmas wreath.
The class was taught by Claire Mackaness, from Beautiful Things. She can also be found on Twitter @clairemackaness.


So you start with a pollystyrene hoop and a ball of yarn. Don't worry if you run out of yarn you can use other colours or tie off the end and start another ball of the same colour.  


Tie on the end of your yarn and pin the knot to the polystyrene hoop and relax, now your knot won't move!


As the first part of making the wreath can take a while, you need patients and mulled wine to get you in the Christmas spirit!


DON'T PANIC (MR Mannering!). If you get tangled up pin the yarn to the hoop and untangle it :) (Even our lovely teacher got tangled up!


This is what the final product should look like. Then it's time for the decoration!!! This is my favorite bit, and Claire provided the most amazing embellishments.


Everyone had a brilliant time and I can defiantly say that the people make a class as much as the activity.


If you live near Brentwood in Essex  and you would like to take part in one of Claire's classes you can find the full list here. 

Tuesday, 1 November 2011

How to Make a Roly-Poly Bird!

On Friday at 6pm 18 Brownies turned up on the door step of Cherry Green Trees camp site and lodge expectant of a weekend full of exploring, playing, and most importantly, crafting!!! 

Each pack holiday that we run is based on a theme, and this one was Roald Dahl. The girls were divided into three groups based on one of his books and the leaders (including me) became characters from the books. 

The craft that I was elected to run was the making if the Roly-Poly Bird. This is an easy make, but also fun. It does require the concentration of the children doing it and it was remarked upon several times that each group that sat at my table was silent :). 


The instructions can be found here.

I got the girls to cut out all of the pieces that they needed to make the birds using templates that I had prepared earlier (how very Blue Peter!) and then made them read the next step from the page.

To make things move a little faster instead of getting the girls to stick the limbs of the bird onto the first plate I let them use a stapler as once the second plate is stuck on top you wouldn't see the staples.

The birds turned out fantastically and I was so please that when the girls were asked to evaluate their holiday the mentioned making the birds as one of their Favourite activities!